How to Fix a Bottom Bracket Tool Snap Up
A bottom bracket tool is a small hand held tool that can help you tighten and repair your bottom bracket. The brackets on your bike are bolted onto the bottom bracket shell. It is important that these bolts are tightened correctly, otherwise they will not work properly. If your bottom bracket bolts are not correctly tightened it can lead to a problem with your bike's suspension system.
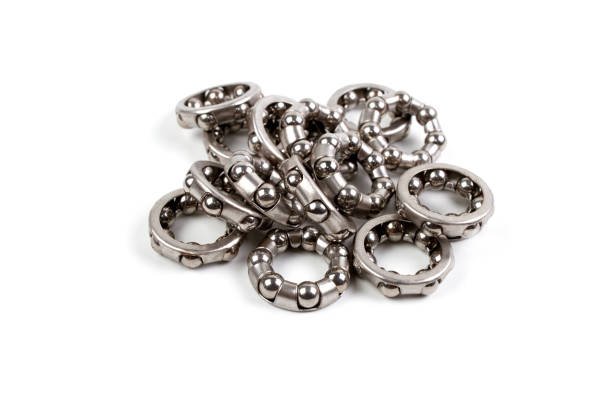
The bottom bracket tool can be a small flat bar or it can be a long thin rod. The flat bar is probably the easiest type of tool to use. Simply apply pressure to the front of the bottom bracket with the bar and rotate it until it is sitting straight up. Then use your other hand to grasp the back of the bracket and apply even pressure to it, which forces it back into place. If it moves out of position do not force it back in, just release the nut and pull the pin out. If the frame is loose, you need to replace the bottom bracket, but if the seat is still secure, simply re-seat the frame. You can also open this site to get the top headset installation expert.
If the frame has a seat instead of a bolt, you need to first remove the seat. Then unscrew the seat down and remove the wheel. Now you can see the nuts and washers that secure the frame to the wheel. Use a small pair of locking pliers to squeeze the washers and turn them counterclockwise, then you can free the nuts and washers with your hands. Be careful that you do not damage the frame when doing this, or you could make a new hole! If you do damage the frame, it may be better to replace the seat as it is much easier to fix a damaged seat than to replace the entire frame.
One problem that some people face when fixing their bottom bracket is that the screws have been stripped. To fix this problem, remove the bottom bracket, open the frame out and take out the stripped screw or bolts. You can then reassemble the frame and put everything back together. Be careful to make sure you are working with a level surface, so that you do not get a sharp edge on yourself. Once you have the screws and bolts back in place, reinstall the bottom bracket.
Another common problem is that the screws on the bottom bracket have been stripped. To fix this problem, remove the frame from the wheel and discard the wheel. Place the frame on a level surface and use a large screwdriver to pry out the retained nut on the bolt. Start threading the bolt through the washer and nut, but try to keep the bolt straight and far out of the hole. Start replacing the screws one at a time, as long as they are seated firmly.
Finally, if none of these methods work, or if your bottom bracket seems to be coming loose, you might want to check for cracked or broken thread. Look for a washer or a nut that has become slightly off line. Tap the stem of the screwdriver down into the washer to see whether it comes out easily. If it does, insert a new screwdriver and try again. If you have narrowed down the problem to just the washer or the nut, you can replace both of them by hand, and finish by tightening the bolt again. To get more enlightened on the topic, check out this related post: https://en.wikipedia.org/wiki/Outline_of_bicycles.